
In the previous article, we discussed about defining API using RAML. In this article we will discuss about generating application using RAML.
Generate application using RAML:
Anypoint Studio – It is an IDE for developing MuleSoft ESB (Enterprise Service Bus) and API applications and it is a single graphical design environment for Anypoint Platform. The beauty of this IDE is you can create any application in less time when compared to developing the same in other programming languages. All the connectors and required components are available in the IDE and you can simply drag and drop the components most of the time and fill the properties. You can add more functionality that has not been provided by writing Java beans or Groovy Scripts.
For Microsoft programmers, this IDE looks like Visual Studio used to create SSIS or WPF applications. Every application built is comprised of several flows where each flow is typically read-transform-send messages. I will not be going through the details but will show how to generate application based on RAML developed in the previous step and test the application in Anypoint Studio.
You can download trial version of Anypoint Studio from https://www.mulesoft.com/platform/studio and play with it.
Coming back to my next step “Generating the application using RAML”. Open Anypoint Studio in your local and click “File” then followed by “New” and then click “Mule Project”.

Figure 10 – Creating new project
Now enter the project name in the textbox for “Project Name” and check the checkbox on the bottom “Add APIkit components” as highlighted in the below screenshot and then click on the ellipsis button beside the textbox for “API Definition”.
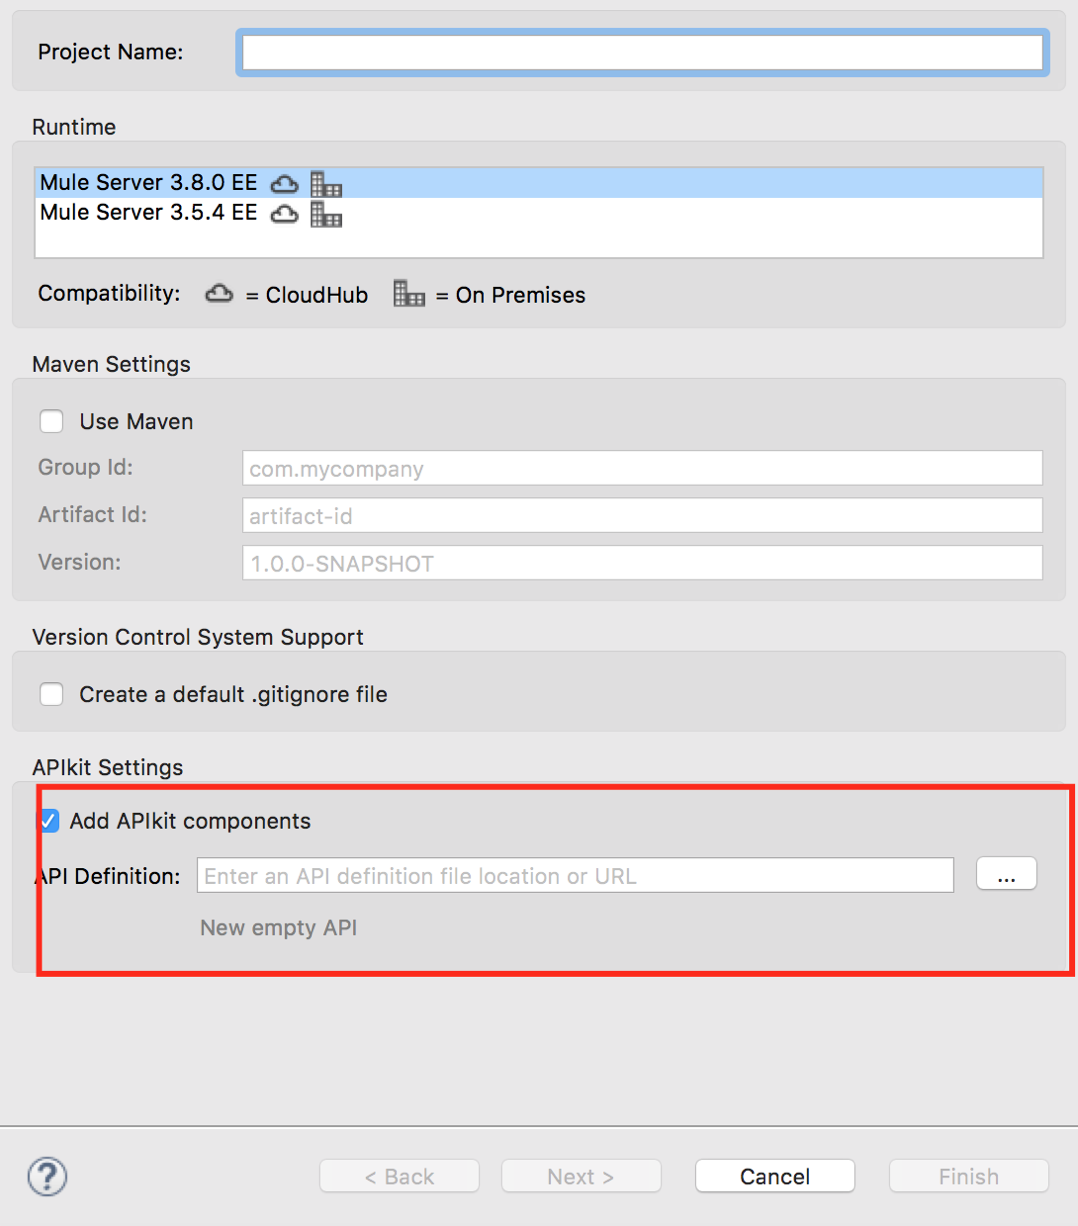
Figure 11 – Generating a project using RAML
You can either browse files if you have RAML file saved in your local. If you want to refer to the RAML that you have defined in the Anypoint Platform, click “Anypoint Platform…” option and it should you take to the login screen for Anypoint Platform and once you provide the credentials, the APIs defined will be displayed and you can select the desired one.
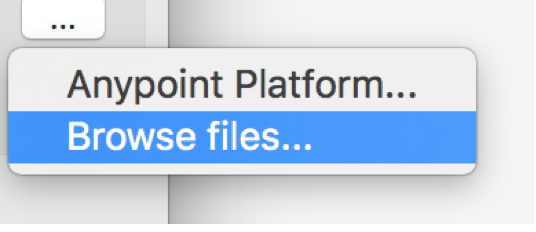
Figure 12 – Browsing RAML definition
I am going to use the RAML definition saved in my local. Incase if you would like to check the APIs created in Anypoint Platform, it should look like below:
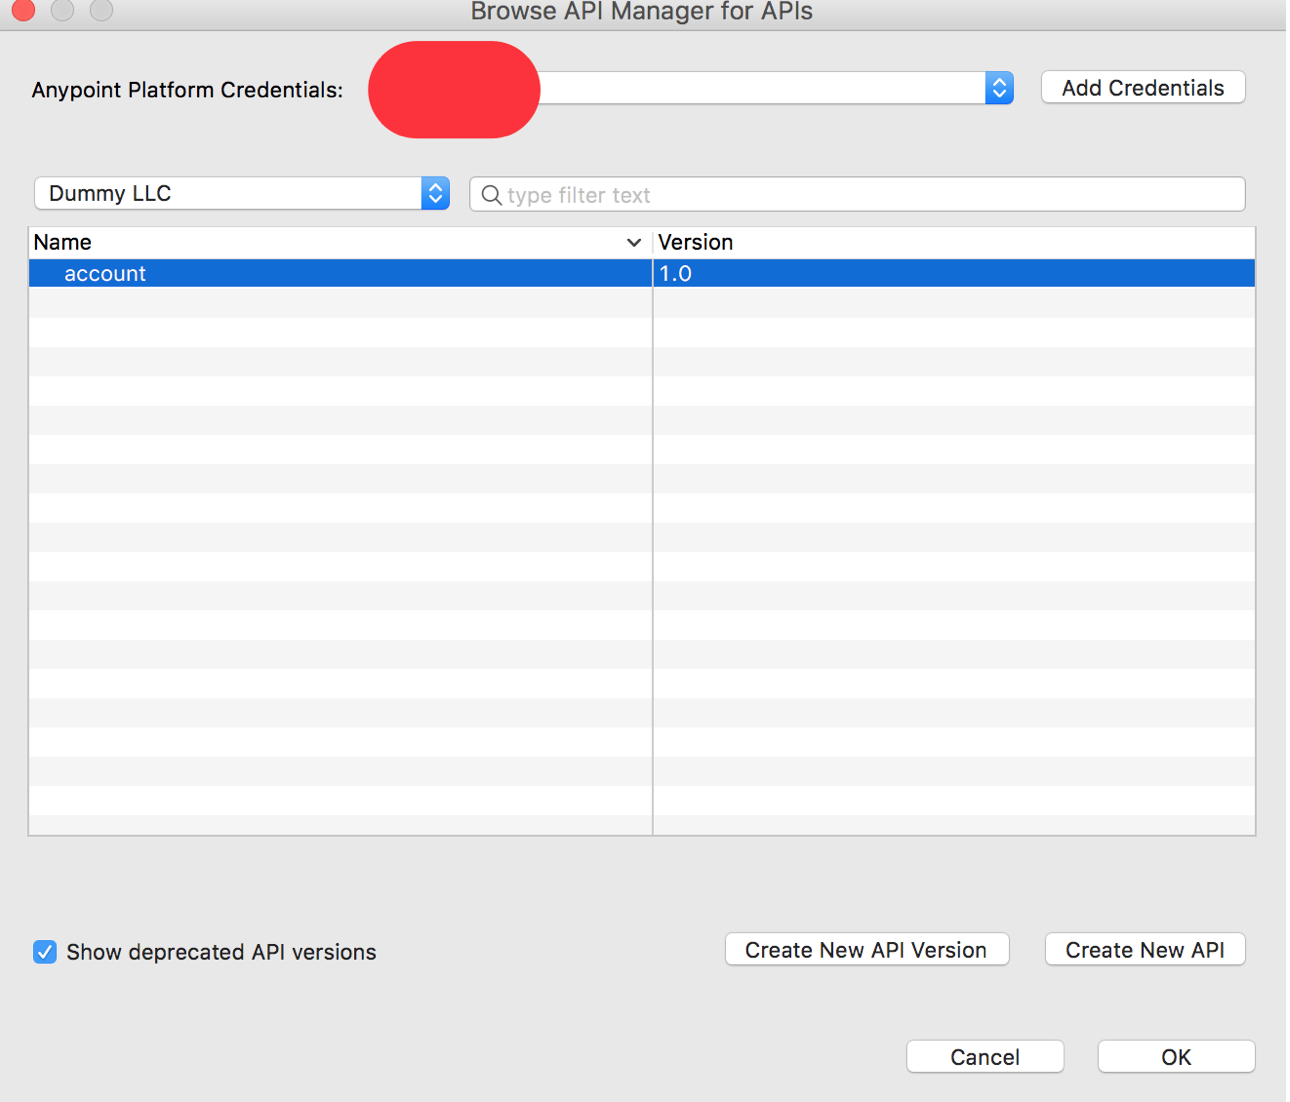
Figure 13 – List of APIs created in the Anypoint Platform
As mentioned before, I am not going to explain the project as it will itself becomes a set of articles. Once you click the button “OK” as shown in the figure 13, it creates a project in the Anypoint Studio. Mule projects can handle most complex integration scenarios with less coding and provides more productivity and quick delivery time. The project created in this article by default utilizes the examples created in RAML and responds to the requests using the sample response data defined in the RAML.
For example, let us check how the “Put” request is handled in the flow. (You need to spend extra time aside on learning the connectors and Mule flows. You can check MuleSoft’s website for sessions to get more information).
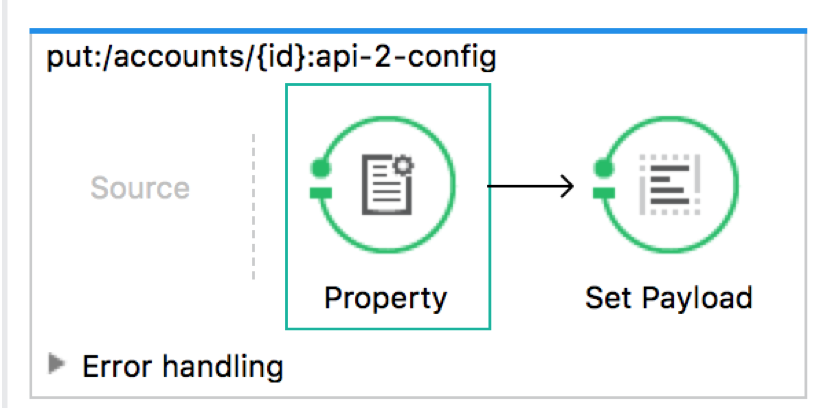
Figure 14 – Put operation flow
Property in the figure 14 will have the settings as below:

Figure 15 – Settings for “Property”
And “Set Payload” has the setting as below:
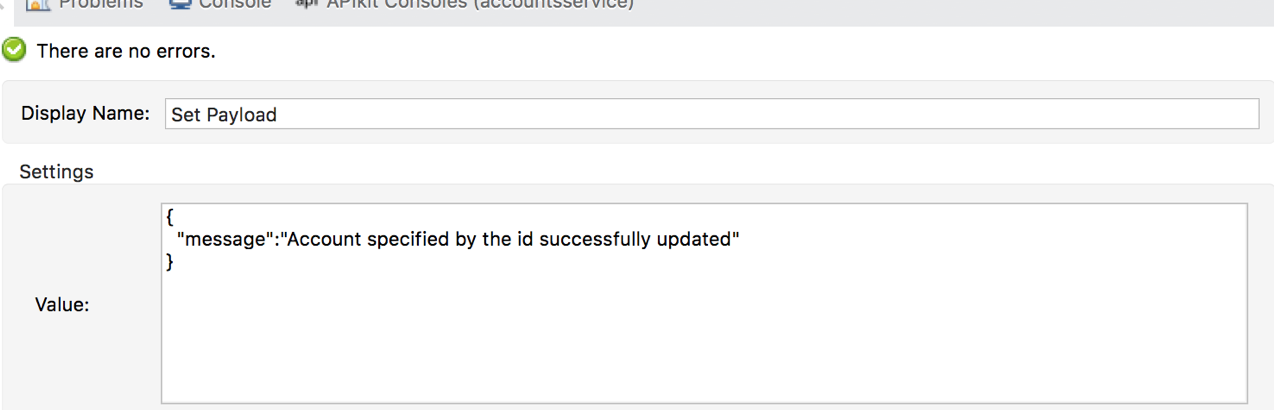
Figure 16 – Settings for “Set Payload”
So, when we submit the Put request, it responds back with the message “Account specified by the id successfully updated”. Similarly, the other flows would be created for handling other resources defined in the RAML automatically by the Anypoint Studio.
In real-time projects, we need to replace the logic with actual flow. Like Put request, if it must insert data into a database must truly insert the data records and respond back appropriately. For this article purpose, I am not going to make any modifications to the project and will let it be as it is created.
Now let us run the project generated by right clicking the project and select “Run As” and then “Mule Application”.
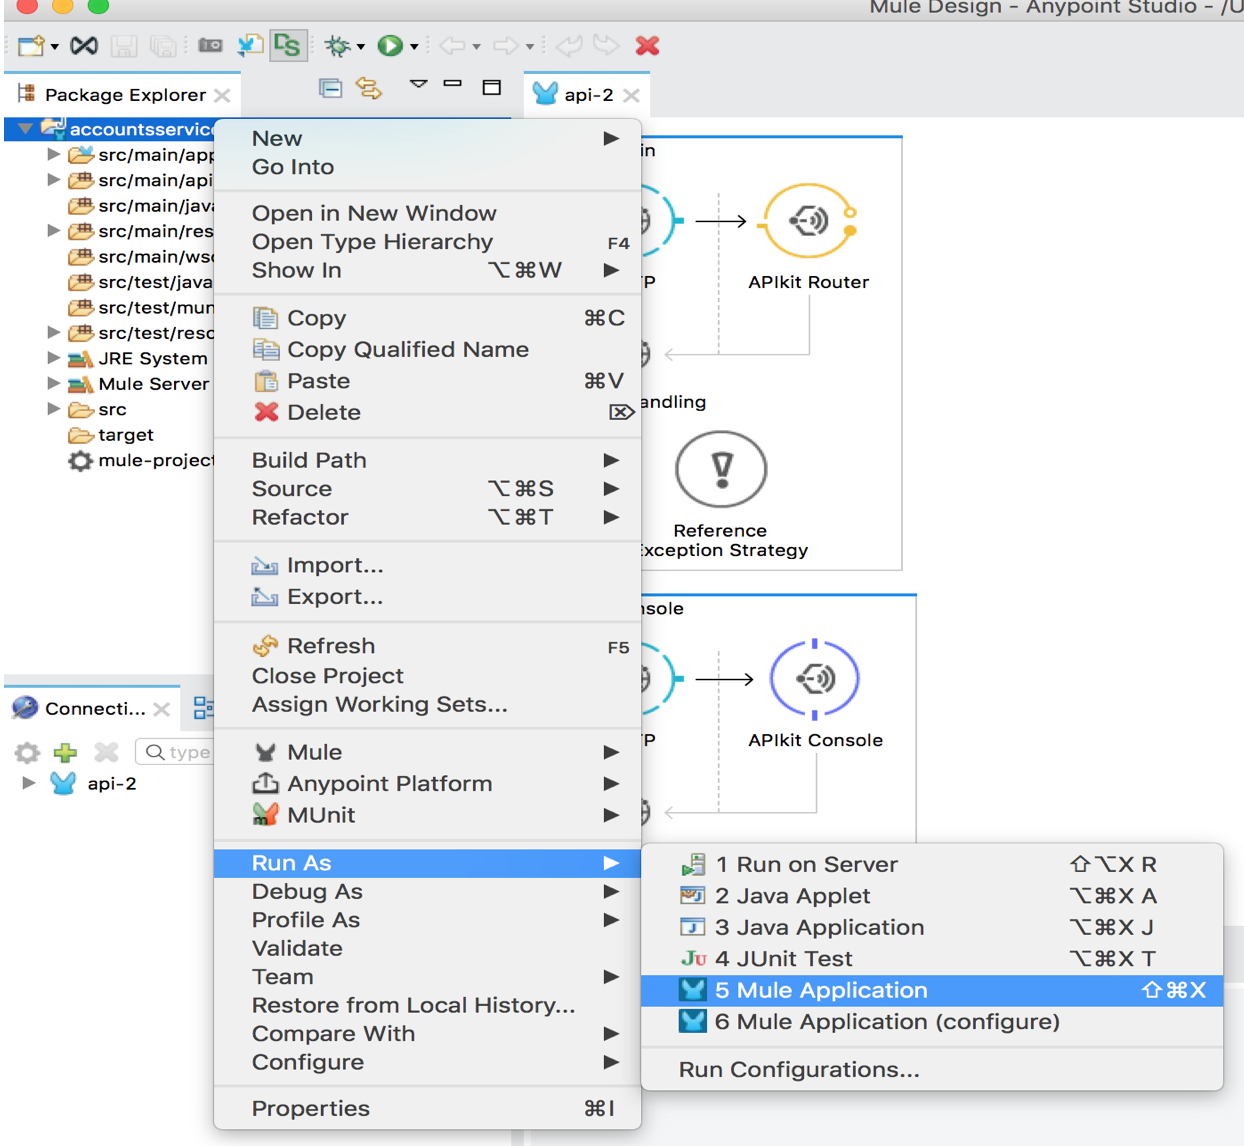
Figure 17 – Running Mule Application
If you see the screen as shown below, then you are good i.e. it should show the message “
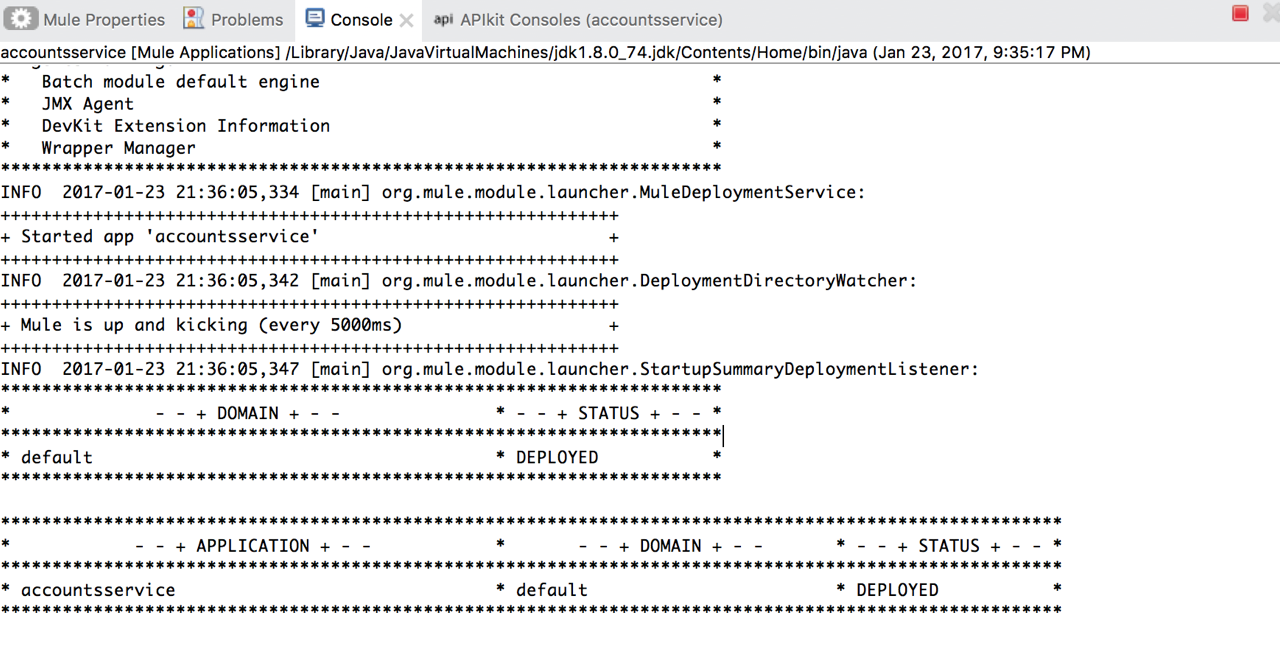
Figure 18 – Console showing service deployed
I would assume the project runs successfully for this article. By default, the endpoints will be exposed on the port 8081 for the Mule applications. There will be two paths supported by the HTTP endpoint for this project by default. One is “Console “and the other supported is “api”.
If you type the URL http://localhost:8081/console/ in the browser, it gives you back a screen showing the resources list and you can play with the operations for each resource as you earlier did in the Anypoint Platform RAML editor tool.
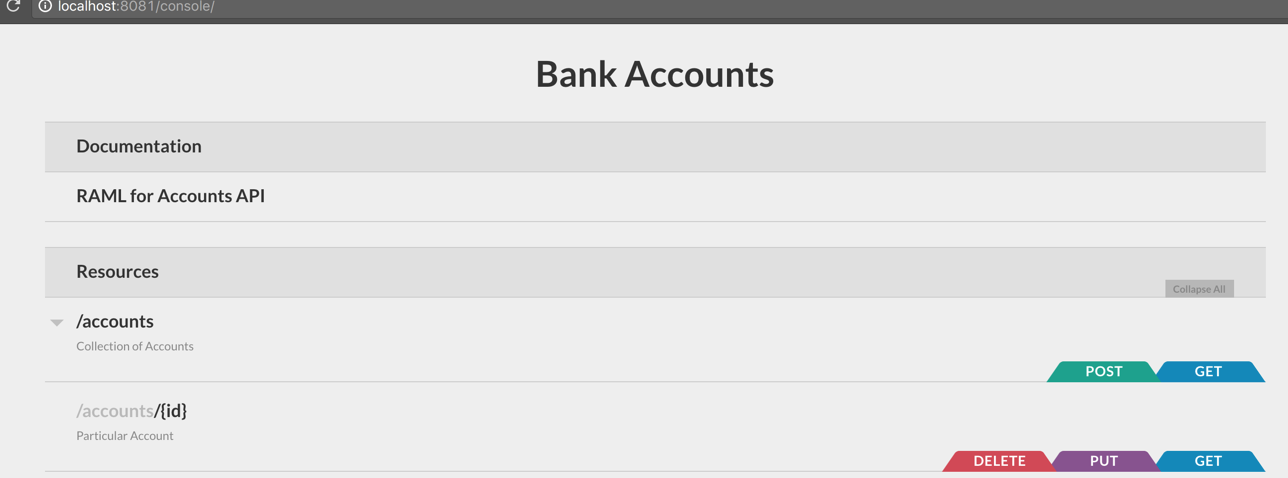 Figure 19 – Screen showing Resources and the operations to play with
All the APIs defined will be supported on the HTTP path /api. If you want to get the list of accounts, you need to hit http://localhost:8081/api/accounts
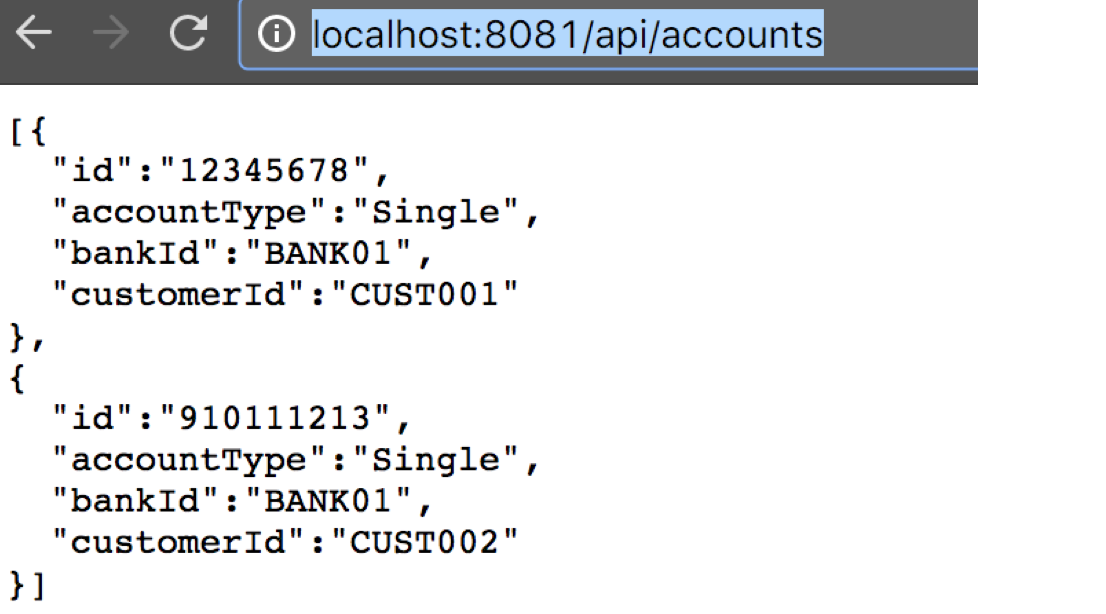
Figure 20 – List of accounts
If you want to get an account by id, you would be specifying the account number in the URL http://localhost:8081/api/accounts/12345678
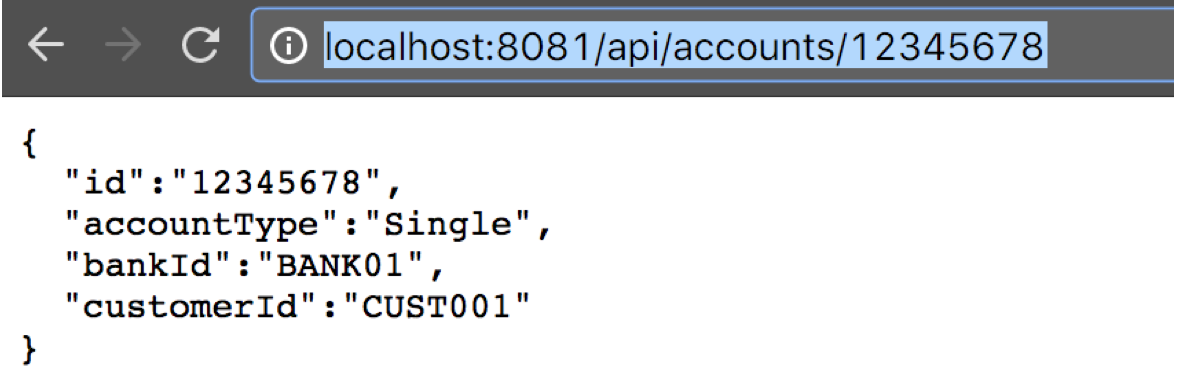
Figure 21 – Get account by account number or Id
Remember, these requests are using the sample responses defined in the RAML. Had we modified the flows to talk to actual data stores, it would be giving back the real data. For any requests in this project, you would be seeing same output. Similarly, you can test the Post, Put and Delete operations by using Fiddler or Postman.
In the next article, we will discuss about deployment to CloudHub.