In this article I will be discussing options to deploy artifacts to Anypoint Exchange. Anypoint Exchange is the central asset repository in the Anypoint Platform where you can share the artifacts with other developers in the same group that the artifact belongs to.
Assets include Connectors, Templates and APIs. It also provides easy discovery of APIs and gives provision for adding documentation, code snippets and tutorials for the assets. It greatly helps in collaboration among developers and teams.
Intended audience: Any MuleSoft developers. Sample application that I am building to publish is developed in Mule 4.3.0 version, you can use any other version for testing. Prerequisite is to access to Anypoint platform. You can get access trial account for 30 days to play with different features.
There are two ways to publish your assets to Anypoint Exchange. They are:
- Publish directly from Anypoint Studio
- Publish using Maven
I have created a simple application that has a HTTP Listener and a Transform Message component. Listener is exposed on port 8081. Since, this article does not need testing of the application, you can build application with any of the connectors available and it should not affect the main goal of publishing the application to Anypoint Exchange.

Figure 1 – Sample flow
Publish directly from Anypoint Studio:
Right click on the project and select “Anypoint Platform” and click “Publish to Exchange” as shown in the Figure 2.

Figure 2 – Publish to Exchange
If this is the first time you are publishing to Exchange or if the Login is expired, you will be presented with the “Sign in to Anypoint Platform” window as shown in Figure 3.
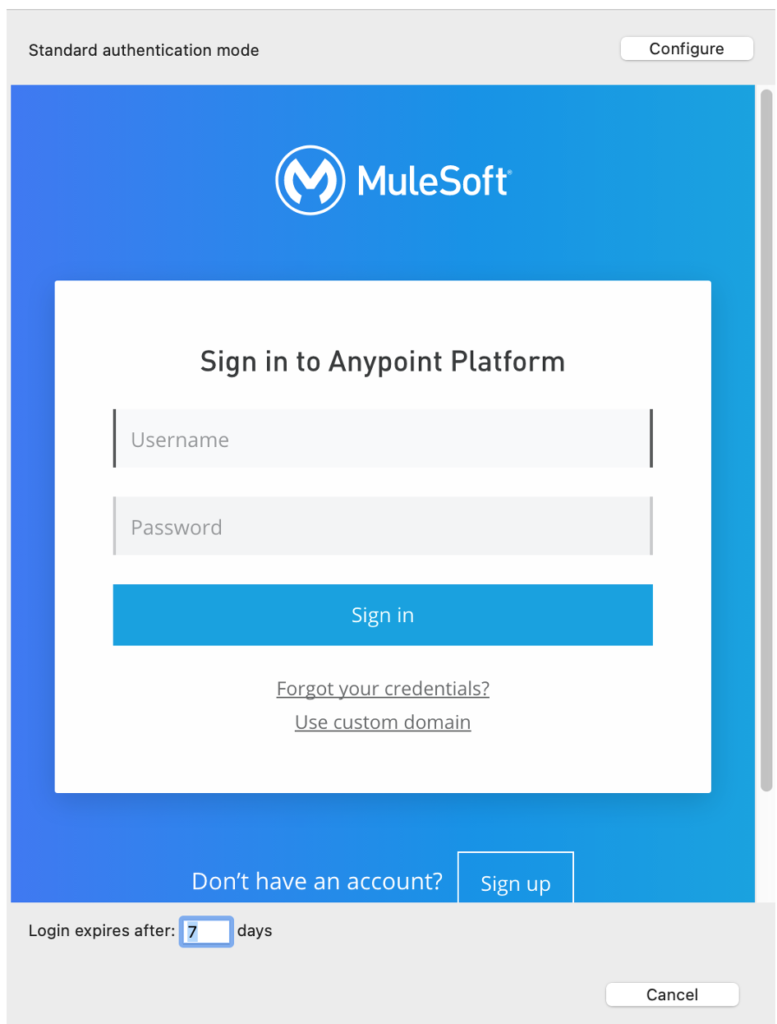
Figure 3 – Sign in screen
Once login is successful, the User input will be populated with the user name and Business Group input will be populated with the Business Group name.
Note: If you have multiple accounts and each account has multiple Business Groups, you should see multiple values populated and you have to select the right configuration values. You need to select Project type. Since we are publishing an application, we have to select “Example” as the value and click “Finish” button on the bottom of the screen. Click “Yes” on the next screen that says “Once the process has started it cannot be canceled. Proceed anyway?”.
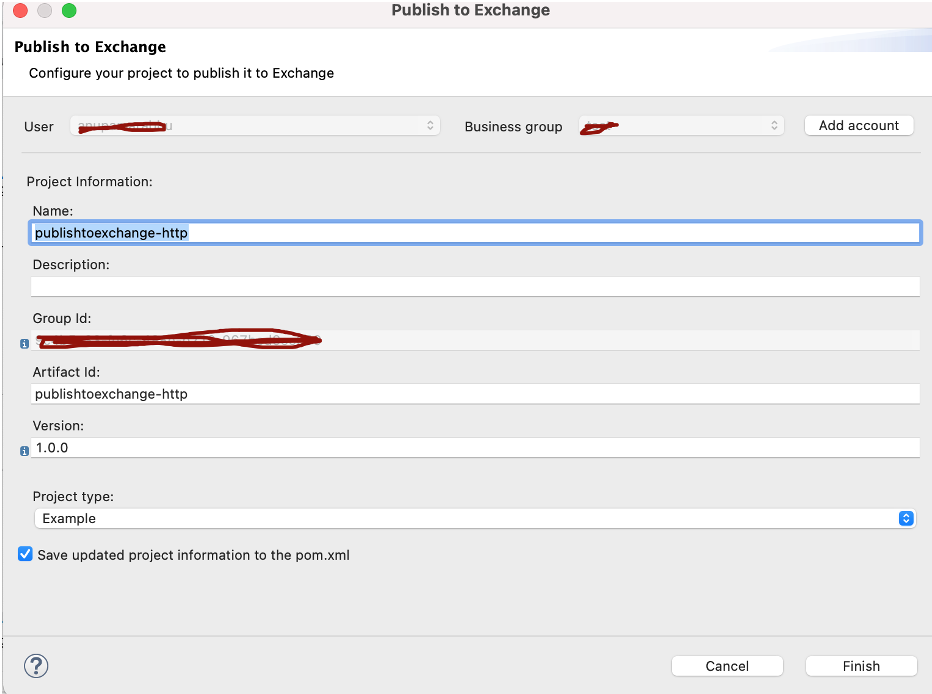
Figure 4 – Configuration window
Once the publishing is completed, you should see success message as shown in the Figure 5.
The link is displayed in the window with the following notation:

Figure 5 – Publish complete
You can also find the organization-id with the following steps and you need this for publishing using Maven (second option).
- Login into Anypoint Platform.
- Click on the “Access Management” under “Management Center”.
- Organization name will be displayed with a hyperlink.
- Click on the Organization name and it will display all the details about the organization like name, domain, owner, id, client id and client secret and default session timeout.
- Copy the organization name when you want to publish the assets using maven.
If you follow the link displayed in the “Publish complete” pop up or click “Exchange” when you login into Anypoint Platform and it should display the new asset. In my case, here is the asset listed in the Exchange:

Figure 6 – Assets
You can add description and other documentation needed for asset by clicking the asset listed in the Figure 5. When you click the asset link, you will see different versions of the assets and a download option as shown in the figure 7.
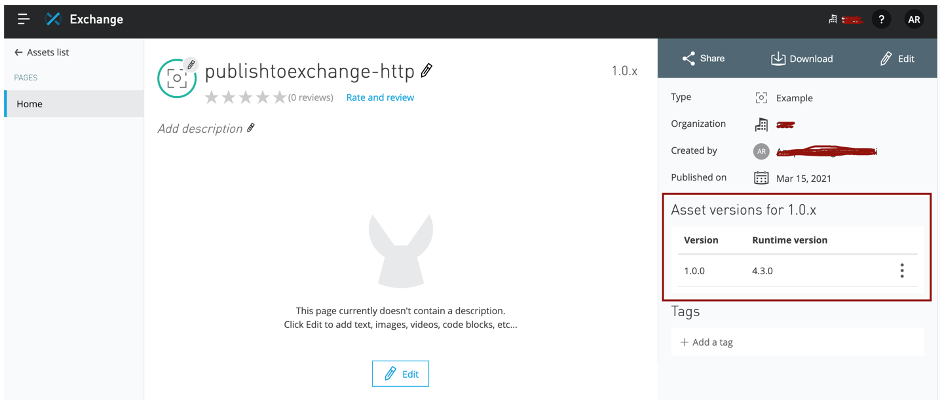
Figure 7 – Asset Information page
Publish using Maven:
The option we went through above is ideal for testing for the first time. If we want to define CI/CD process, we have to use Maven to publish the assets. In order to publish the assets, we need to follow the steps we are going to discuss now.
- First step is to keep the Anypoint Platform credentials handy. Go to .M2 folder and create a file “settings.xml” if it is not already created.
- If you are working on Mac Book, you can go to the folder by copying “~/.m2” in the “Go to the folder:” option in the finder.
- If you are working on Windows machine, you can find it under “users” and logged in user folder.
- Copy the following content in the settings.xml file:
<?xml version="1.0" encoding="UTF-8" standalone="no"?>
<settings xmlns="http://maven.apache.org/SETTINGS/1.0.0"
	xmlns:xsi="http://www.w3.org/2001/XMLSchema-instance"
	xsi:schemaLocation="http://maven.apache.org/SETTINGS/1.0.0 http://maven.apache.org/xsd/settings-1.0.0.xsd">
	<servers>
		<server>
		<id>ExchangeServer</id>
		<username>Anypoint login name</username>
		<password>Anypoint Password</password>
		</server>
	</servers>
</settings>
id – can be any arbitrary value that uniquely identifies the server information
username – user name used to login Anypoint Platform
password – password for Anypoint Platform
- Open pom.xml in the project and edit the following elements:
- groupId element
Replace
<groupId>com.mycompany</groupId> With:
<groupId>organization-id copied from Anypoint Platform</groupId>- Check for plugin org.mule.tools.maven under build/plugins – add classifier and mention “mule-application-example” as we are planning to deploy mule application.
<build>
	<plugins>
		<plugin>
			<groupId>org.apache.maven.plugins</groupId>
		<artifactId>maven-clean-plugin</artifactId>
			<version>3.0.0</version>
		</plugin>
		<plugin>
			<groupId>org.mule.tools.maven</groupId>
		<artifactId>mule-maven-plugin</artifactId>
			<version>${mule.maven.plugin.version}</version>
			<extensions>true</extensions>
			<configuration>
			<classifier>mule-application-example</classifier>
			</configuration>
		</plugin>
	</plugins>
</build>
- Add element <distributionManagement> at the end of the POM file if it does not exist. Make sure that repository <id> element value matches with the <id> in the settings. Xml file. Replace <organization-id> with your organization-id value found from the Anypoint Platform.
<distributionManagement>
	<repository>
		<id>ExchangeServer</id>
		<name>Some random Internal Repository</name>
		<url>https://maven.anypoint.mulesoft.com/api/v2/organizations/<organization-id>/maven
		</url>
		<layout>default</layout>
	</repository>
	<snapshotRepository>
		<id>ExchangeServer</id>
		<url>https://maven.anypoint.mulesoft.com/api/v2/organizations/<organization-id>/maven
		</url>
		<layout>default</layout>
	</snapshotRepository>
</distributionManagement>
For better testability, create a new project and apply the changes mentioned above for Publishing with Maven.
Run the following command from the project location:
mvn deploy

Figure 8 – Publishing success message
If you see any errors like “Failed to deploy artifacts: Could not transfer artifact” with
- HTTP Status 400 that means you need to revisit your POM file changes.
- HTTP Status 409 is conflict – You have already published artifact with the same version. So you need to change the version in the pom file.
- HTTP Status 404 is resource not found – the url in the distributionManagement element is wrong. Need to recheck.
Now let’s check if the artifact is published to exchange by navigating to the Anypoint Exchange.

Figure 9 – See two assets in the Exchange
The version we published is 1.0.0 as shown in the figure 10.

Figure 10 – Version 1.0.0
Note: If you change minor version or patch version in the version number, Exchange maintains all the versions and displays in the Asset Information page in the Exchange.
If you change major version, it will display the new version by default. But you can go to old version by clicking on version dropdown beside the asset name as shown in the figure below:

Figure 11 – Selecting older versions
Let’s update the version in the POM file to 1.0.1 and re-publish the asset using Maven.
<version>1.0.1-SNAPSHOT</version>

Figure 12 – Two versions are displayed on the Asset Information Page
Now, let us change the major version.
<version>2.0.0-SNAPSHOT</version>
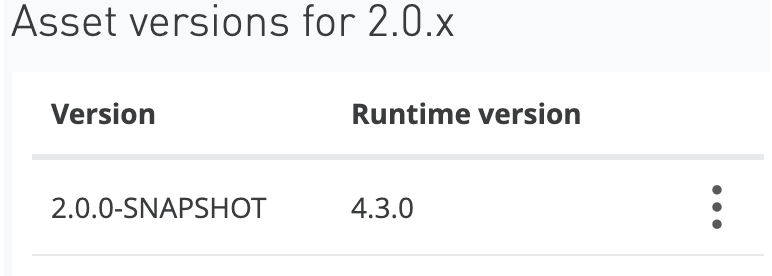
Figure 13 – Updated version is displayed
If somehow, you decide not to work with 2.0.0-SNAPSHOT, you can delete this version and you should see the previous major version and it’s minor/patch versions displayed by default.

Figure 14 – Delete existing version
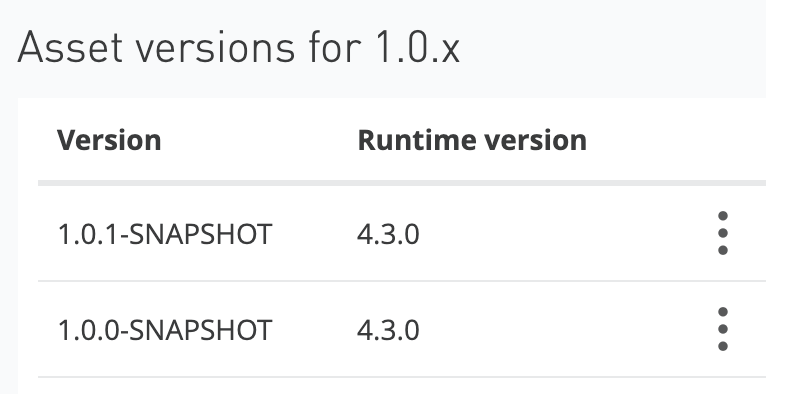
Figure 15 – Displaying previous versions
Note: You can always navigate through different versions of the asset from asset information page as shown in Figure 11.
Hope you found this article useful!!! Please feel free to share or like so that others can view this article.


